


In the fast-paced world of content creation, control over your HTML is key. TinyMCE’s Enhanced Code Editor plugin brings an IDE-like experience to your editor, making it simple to modify HTML behind WYSIWYG content. With features like syntax highlighting, search and replace, and code folding, it ensures clean, structured code that meets your project’s standards and vision.
Whether you prefer a modal or inline view, the Enhanced Code Editor offers flexibility and ease, allowing developers and power users to edit raw HTML within their rich text editor to create content.
Why do you need an Enhanced Code Editor?
In the context of a rich text editor, an Enhanced Code Editor bridges the gap between content creation and code management, ensuring that the underlying HTML is clean, structured, and easily modifiable. Here’s why:
- Smooth Content-HTML editing: In a rich text editor, users often work with a WYSIWYG interface, but there are times when direct access to the HTML is necessary to fine-tune formatting or resolve layout issues to get it just right. An Enhanced Code Editor allows developers to switch between the visual editor and HTML seamlessly, maintaining control over the underlying code without disrupting the content workflow.
- Customizable code for complex layouts: As content becomes more dynamic and design-heavy, developers need the ability to inject custom HTML elements or scripts. An Enhanced Code Editor provides the flexibility to tweak or enhance the content structure, ensuring that the output matches both visual and technical standards.
- Maintain code quality: Rich text editors often generate HTML code automatically, which can sometimes be inefficient or cluttered depending on the use case. An Enhanced Code Editor allows developers to clean up and format this code, improving the readability and maintainability of the content's structure.
- Developer-friendly workflow: An IDE-like code editor within the rich text editor provides essential tools like syntax highlighting, code folding, and search and replace. With dark and light mode options, developers can work comfortably in any environment, making HTML editing more efficient without switching to external tools.
- Collaboration: When your whole team follows the same formatting rules, working together becomes much smoother. Consistency eliminates style-related conflicts and keeps everyone on the same page.
- Streamlined code reviews: With a standard formatting style in place code reviews become more efficient, which allows developers to focus on logic and functionality instead of formatting differences.
TinyMCE’s Enhanced Code Editor makes all of this easy by giving developers precise control over the underlying code. It locks in well-structured technical aspects and well-structured visual content, making cleaner code and more efficient workflows an everyday part of work.
Getting started: Enhanced Code Editor in TinyMCE
Here’s a step-by-step guide to help you install, configure, and customize TinyMCE’s Enhanced Code Editor to match your needs within your WYSIWYG editor.
Step one: Create the index.html file
Before customizing your code formatting, you’ll need to install the Enhanced Code Editor plugin. TinyMCE makes this process straightforward.
First, let’s make sure TinyMCE is set up in your folder. You can begin by:
- Creating a folder called tinymce-demo
- Then inside that folder, you’ll create a new index.html file that looks like this:
<!DOCTYPE html>
<html lang="en">
<head>
<script src="<a href="https://cdn.tiny.cloud/1/no-api-key/tinymce/7/tinymce.min.js">https://cdn.tiny.cloud/1/no-api-key/tinymce/7/tinymce.min.js</a>"
referrerpolicy="origin"></script>
</head>
<body style="margin:5%;padding:0">
<script>
tinymce.init({
selector: 'textarea',
});
</script>
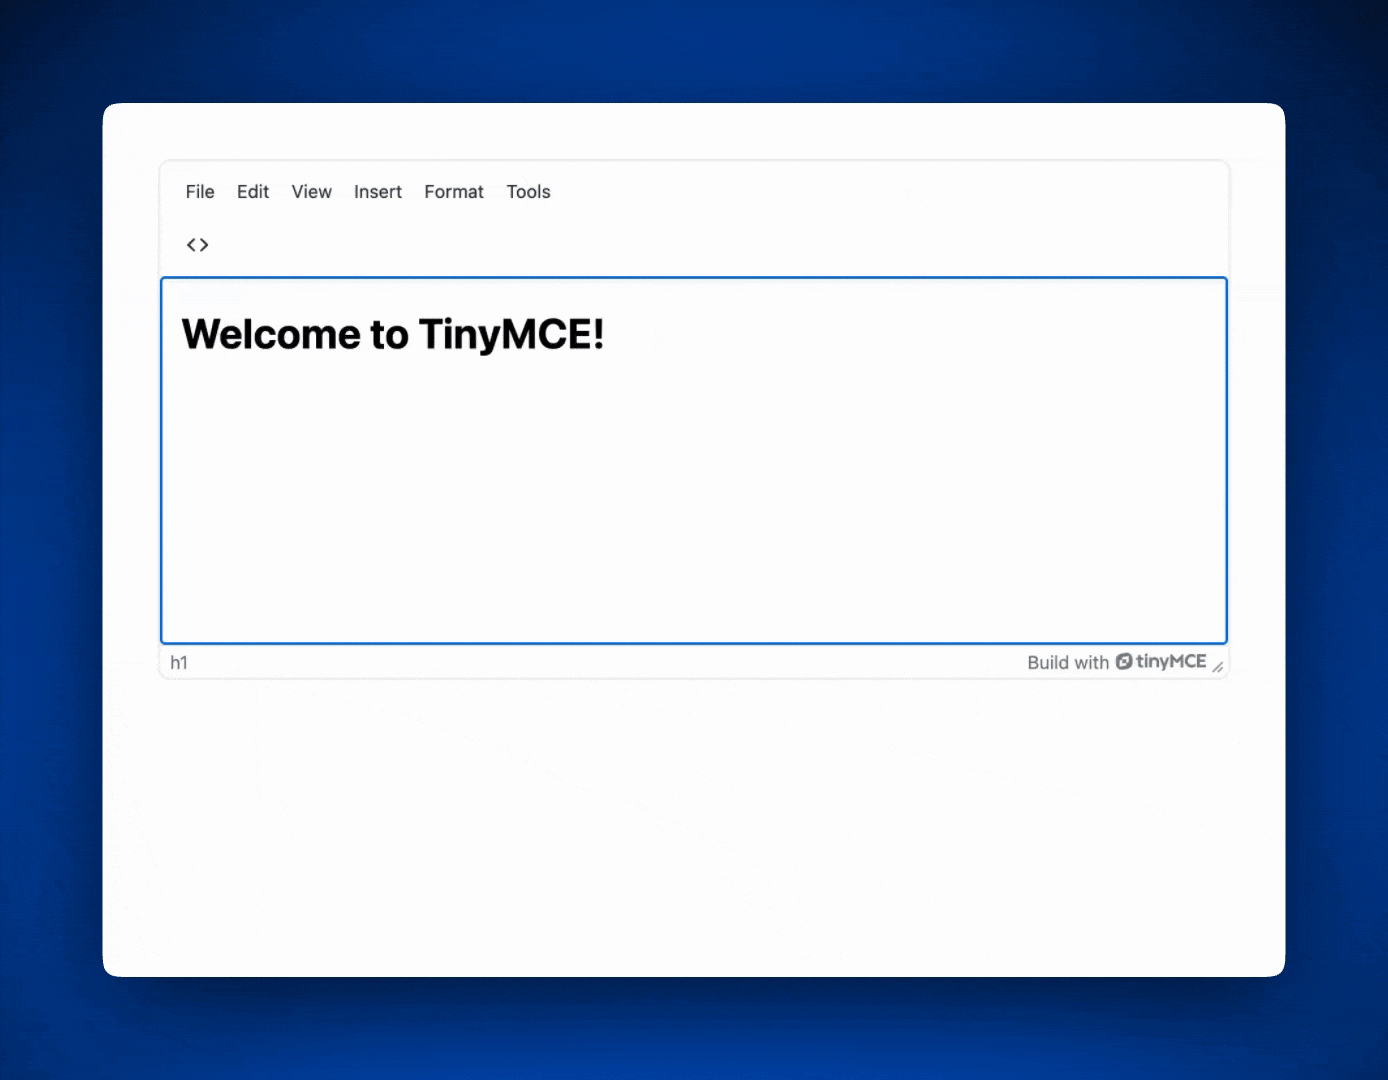
<textarea>
<h1>Welcome to TinyMCE!</h1>
</textarea>
</body>
</html>Replace the "no-api-key" with your valid TinyMCE API key. If you don’t have one yet, you can sign up for a free 14-day trial of TinyMCE.
Step two: Install the Enhanced Code Editor
Next, install the Enhanced Code Editor plugin (referred to as advcode) by adding it to your TinyMCE configuration that’s inside the index.html file:
tinymce.init({
  selector: "textarea",
  plugins: "advcode", // adds the Enhanced Code Editor plugin
  toolbar: "code", // adds access to the code window via the toolbar
});
Step three: Test your rich text editor
You’ll just need to open Terminal and change directory into your tinymce-demo folder where your index.html file lives. In that directory, you’ll run two shell commands:
npm install
http-serverThe first command installs the packages we need to run our HTML file as a web page on localhost. The second command launches our index.html file and takes us to our shiny new rich text editor!
Options for Enhanced Code Editor
You can take things further by customizing how the Enhanced Code Editor behaves. Let’s look at a few key options.
Integrate automatic code formatting with advcode_prettify_editor
One of the new features of TinyMCE 7.3 is the advcode_prettify_editor configuration for Enhanced Code Editor, which automates code formatting in the Source Code window when you open it. The default for this boolean property is true.
Let’s add it to our TinyMCE configuration:
tinymce.init({
  selector: "textarea",
  plugins: "advcode", // adds the Enhanced Code Editor plugin
  toolbar: "code", // adds access to the code window via the toolbar
  advcode_prettify_editor: true, // Ensure automatic code formatting
});
This guarantees that your code remains clean and well-formatted without any extra steps.
Retrieve formatted content safely with advcode_prettify_getcontent
Another useful feature of the Enhanced Code Editor is the advcode_prettify_getcontent option. It ensures that when you retrieve content using the editor’s getContent() API, the HTML is already formatted according to your project’s rules.
tinymce.init({
  selector: "textarea",
  plugins: "advcode", // adds the Enhanced Code Editor plugin
  toolbar: "code", // adds access to the code window via the toolbar
  advcode_prettify_editor: true, // adds automatic code formatting
  advcode_prettify_getcontent: true, // adds automatic HTML formatting to incoming content
});
By enabling this option, you can maintain consistent content formatting even when retrieving your content via your API.
👉Note: The default for advcode_prettify_getcontent is false, so be sure to change this to true in your configuration if you’d like to use this feature.
The "Format Code" button
The Enhanced Code Editor also provides a "Format Code" button inside the Source Code window that allows users to format selected portions of code or the entire document as needed. This button is particularly useful when making small adjustments to code snippets.
Simply select the code you want to reformat, click the "Format Code" button, and TinyMCE will take care of the rest.
Enforcing your code style with TinyMCE’s Enhanced Code Editor
With TinyMCE’s Enhanced Code Editor, maintaining your project’s preferred code style has never been easier. Whether you’re using automatic formatting with advcode_prettify_editor, working in Dark Mode, or finding the "Format Code" button handy, you can standardize your code and keep it clean, consistent, and ready for collaboration.
For more tips on customizing your TinyMCE editor, be sure to check out How to Style Text in Your Rich Text Editor. Don’t forget to subscribe to the TinyMCE YouTube Channel!


